Four advanced CSGO commands you need to know to up your game
The console is a powerful tool in Counter-Strike: Global Offensive. It’s capable of basic things like changing a player’s crosshair, but it can also do much more than that. From jump throw binds for smoke grenades to removing those distracting blood spatters and bullet holes, the console is a tool that good players need to know inside and out.
Here are some advanced commands, taken from the Global Elites of Counter-Strike: Global Offensive, FPL, and Rank S, that every CSGO player can benefit from.
Players should replace “ANYKEY” in the following commands with a key of their choosing.
Note: If players are not using an autoexec.cfg file, then they should enter these commands into the console and finish by executing the “host_writeconfig” command. If players are using and autoexec.cfg, place these commands inside the autoexec.cfg file instead of entering them into the console.
How to bind switching from right and left side gun models
- Command: cl_righthand #
- Possible # Values: “1” or “0”
- Default Value: “1”
- Bind: bindtoggle ANYKEY cl_righthand 1 0
- Bind Instructions: Enter “bindtoggle ANYKEY cl_righthand 1 0” without quotes into the console and press enter.
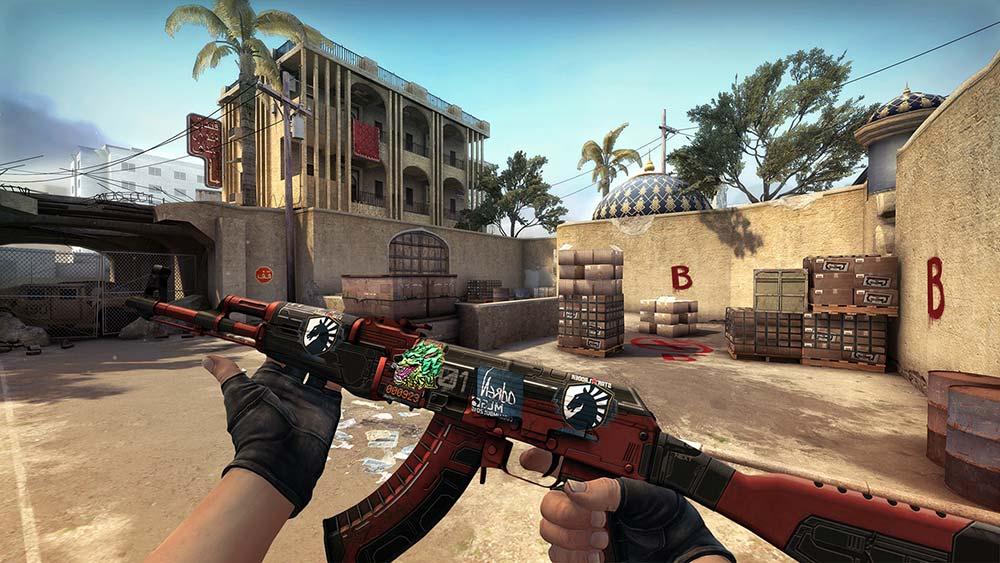
This CSGO console command switches the player’s gun model from one side of the screen to the other depending on the # value. The default setting is “1” and positions the model on the right side. “0” moves the model to the left.
Here’s what cl_righthand “0” and “1” look like side by side:
There are several advantages to binding a key to this command, but the largest is that it allows a player to clear corners without their gun model in the way. For example, if a player has to clear a corner to their right, moving the gun model to the right side improves visibility of the right side of the screen.
As long as players remember “right corner, right hand; left corner, left hand,” they can make great use of this command.
Clearing blood and bullet decals in CSGO
- Command: r_cleardecals
- Possible # Values: N/A
- Default Value: N/A
- Bind: Bind ANYKEY r_cleardecals
- Bind Instructions: Enter “Bind ANYKEY r_cleardecals” without quotes into the console and press enter.
On the surface, this command is simple. By pressing a key, players can remove blood splatter, bullet holes, and grenade scorches from the map. It’s a great command that makes sure players don’t overlook an enemy because they blended in overly well with blood on the wall.
This command introduced double-binding, which is basically binding two commands to a single key. For example, here’s the command to bring up the scoreboard and clear decals at the same time. The quotation marks are needed in this command, so players that use it should include them.
- bind tab “+showscores; r_cleardecals”
Now, when a player pressed TAB, the console automatically runs “r_cleardecals” and removes all marks from the map. It’s always useful. but it shines during clutch rounds.
Disable first-person bullet tracers in CSGO
- Command: r_drawtracers_firstperson
- Possible # Values: “1” or “0”
- Default Value: “1”
- Bind: N/A
- Command Instructions: Enter “Bind ANYKEY r_cleardecals” into the console and press enter.
Why would anyone want to disable bullet tracers? The reality is that CSGO’s tracers aren’t accurate and don’t actually help a player learn a gun’s spray pattern. Practicing and playing with tracers disabled forces the player to learn the pattern instead of adjusting with the tracers.
The default value of “1” enables a player’s bullet tracers, while “0” turns them off. It’s a simple command, but once the player makes the switch, they’ll see improvement with a little bit of practice.
How to move all of CSGO’s HUD elements and radar
- Command: safezonex “#” and safezoney “#”
- Default Value: “1”
- Possible Values: From “0” to “1” including decimals, ex. “safezonex .495”
- Bind: N/A
- Command Instructions: Enter “safezonex #” without quotes into the console and press enter. Do the same with “safezoney #”.
This command will shift all parts of Counter-Strike’s HUD in from the edges of the screen. Players that use a 16:9 ratio will find this especially useful. Since 16:9 is so wide, players have further to look from their crosshair to the map. Those extra milliseconds lose rounds.
The “x” and the “y” in these commands refer to the x and y axes. This means that “safezonex” moves the HUD in from the left and the right, while “safezoney” moves the hud towards the center from the top and bottom.
By shifting the HUD in slightly towards the center, players can cut down on that time. Even changing the value from “1” to “.9” is huge, so players should make use of decimals to find the most comfortable fit. The commands can have different values but most change only the “safezonex” command.
The CSGO console can do some interesting things, and this is only the tip of the iceberg when it comes to player options. POV demos of professional players often showcase commands like cl_righthand and r_cleardecals, so if a casual competitive player isn’t using them, they’re putting themselves at a disadvantage.
Stay tuned to WIN.gg for autoexec.cfg tutorials, an in-depth explanation on jumpthrows and binds, and the best NVIDIA settings for CSGO.
Recommended

s1mple is offering lessons to help you get good at CS2
Have you dreamed of playing like s1mple?

Recent CS2 ban wave punishes cheaters during live games
Valve is banning players in bulks.

Players hopeful after Valve adds Overwatch to expose CS2 cheaters
Only “trusted” players will be Overwatch investigators.


