Apex Legends Kill Code: A Thief's Bane walkthrough


Apex Legends has a new game mode where you play as Loba as you dive deeper into her lore. Here’s how to complete Kill Code: A Thief’s Bane, including finding Revenant at the end.
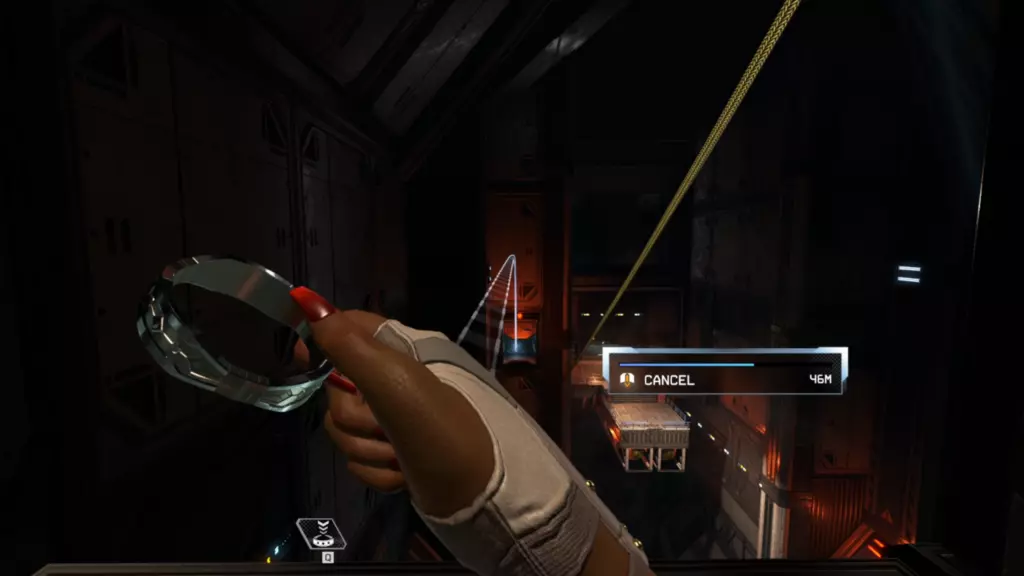
Throughout A Thief’s Bane, you’ll use Loba’s translocation bracelet to make your way around a Hammon Robotics facility. It can be a bit of a maze, but we luckily can lead you down the right path.
How to get through A Thief’s Bane
After a cutscene of Loba entering the facility, you’ll start heading to a lower level. The terminal will come to a stop and you’ll need to use Loba’s bracelet to jump across a gap in the walkway. Then use the bracelet to reach a vent above the door on the other side of the room.
Following the vents will lead to an open area. Drop out of the vents onto the platform below. A second platform is to your left. Head to the right and you’ll see a round opening in the wall that leads to a tunnel. Translocate into the tunnel’s opening.

At the end of the tunnel, you’ll need to use the bracelet again to reach a far platform. Follow it forward, using the bracelet to make your way through broken walkways. Eventually, the path will lead to a platform with a yellow ladder. Climb up and you’ll see two yellow pipes with another walkway on top. Use your bracelet to reach this higher platform and you’ll eventually reach a red wall. Throw your bracelet into the broken window.
You will find yourself in a massive room with a platform on your right. Use your bracelet to reach this platform and head into the vents near the closed door. Follow the vents to another platform and then translocate to the other vent. This may look like a dead end at first, but you’ll see a ledge above you. Throw your translocator to this spot.
Head down an open hallway and you’ll reach another vent. Climb up and then jump down into the room below. You’ll need to throw your bracelet through a metal door to reach a room full of yellow ziplines. Time your translocator correctly to ride the ziplines through the facility. Start with the zipline on your left.
Use the second zipline in the middle of the room and then line up your bracelet with the platform. You’ll see another set of ziplines ahead. Take the one on the left again and then jump to the next zipline at the end. Use your translocator bracelet to reach a platform that’s below the third zipline.
Take a vertical zipline up to the ceiling and then throw your bracelet to a platform with two more ziplines. Translocate to a vent at the top. Follow it to a room with a ton of tables.
At this point, use your Black Market ultimate and use it to get the Hammond Datapad.
Backtrack to the platform in the center of the zipline-filled room. When you reach the door, use the Hammond Datapad to open it. You’ll see some columns that are moving around in this room. Use the translocator to make your way through the first two platforms and then a ledge below a fan.
Make your way to another fan across the room and then crawl through it. Aim your bracelet at the edge and follow the path. You’ll be led through a series of red tunnels. Slide down the path until you see an opening at the top. Use your translocator to get out.
Locate Revenant in A Thief’s Bane
You’ll find yourself in a small room after getting out of the tunnel. Go up some stairs and you’ll see a blue room with 215 written on it. Throw your translocator under the door.
Follow the big walkway to the terminal in the center. Interact with it and a final cutscene will pop up. This cutscene shows Loba realizing that someone already used the terminal, possibly Duardo Silva. An alert pops up and Loba is face to face with Revenant’s head.
A mechanical eyeball is hanging from the head, which Loba grabs. At this point, the cutscene ends as does the game mode.
Olivia has worked in media ever since graduating from college, with her coverage ranging from traditional newspaper reporting to digital coverage of all things gaming, online betting, and nerd culture. She has traveled around the world pursuing that coverage, from the far coasts of the United States to the busy downtown core of Tokyo, Japan. Olivia’s favorite games include Overwatch and Super Smash Smash Bros, and she has been published at Esports Illustrated, Inven Global, EsportsInsider, Upcomer, and elsewhere.
View full profileRead Also
 Esports Betting
 Twitch
 Apex Legends
 Apex Legends
 Apex Legends
 Apex Legends
 Apex Legends